Introduction
In today’s world, having a website is no longer a luxury — it is a necessity. Whether you are a student showcasing your portfolio, an entrepreneur starting a small business, or simply someone who wants to share ideas with the world, a website acts as your digital home. Years ago, building a website meant learning complex programming languages like HTML, CSS, and JavaScript. That scared many people away.
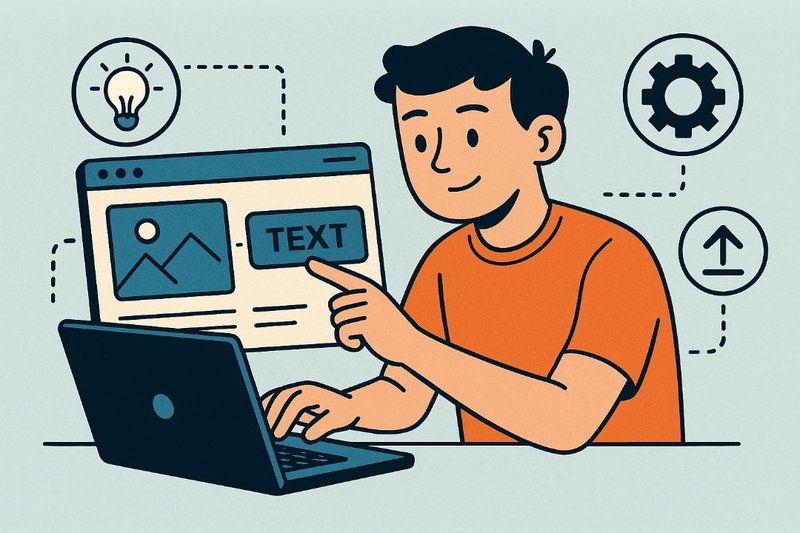
But here is the good news: today, you don’t need to write a single line of code to create a professional-looking website. Thanks to modern no-code tools, anyone — yes, even you reading this — can build a website in just a few hours. This tutorial will guide you step by step, using clear examples and easy-to-follow instructions.
By the end, you’ll not only know how to create your website, but also why each step matters. Think of this as a journey where I’m walking beside you, ensuring you don’t get lost.
Step 1: Understand the Purpose of Your Website
Before you start clicking buttons and dragging designs, ask yourself: “Why do I need this website?”
Websites fall into different categories:
- Portfolio website – to showcase your skills, art, or projects.
- Business website – to attract customers and sell services or products.
- Blog or personal website – to share stories, knowledge, or passions.
- E-commerce store – to sell products online with payment gateways.
📌 Tip: Write your purpose in one sentence. Example: “I want to create a website to sell handmade jewelry to international buyers.” This clarity will guide your next choices.
Step 2: Choose a No-Code Website Builder
Now comes the exciting part: choosing the tool to build your website. There are several options, but here are the most popular:
- Wix – Very beginner-friendly, drag-and-drop system. Perfect for personal and small business websites.
- WordPress.com – The most popular platform in the world, flexible for blogs, businesses, and advanced scaling.
- Squarespace – Known for beautiful templates, great for creatives and portfolios.
- Shopify – Best for online stores (e-commerce).
- Webflow – For those who want a balance between simplicity and customization.
👉 My recommendation: If you’re totally new, start with Wix or WordPress.com. Both are easy and have a free option to practice.
Step 3: Pick a Domain Name
Your domain is your digital address (e.g., www.mywebsite.com). It should be simple, memorable, and relevant to your purpose.
- Use your name if it’s personal (www.janedoe.com).
- Use your business idea if it’s commercial (www.africajewels.com).
- Keep it short and easy to type.
📌 Tip: Avoid numbers or hyphens — people forget them easily.
You can buy a domain from providers like Namecheap, Google Domains, or directly from your website builder (Wix, WordPress, Shopify).
Step 4: Select a Template or Theme
Think of a template as the blueprint of your house. It determines how your website looks before you fill it with your content.
- Business website? Choose a professional, clean theme.
- Blog? Choose a template with clear sections for articles.
- Portfolio? Choose one that highlights images and projects.
📌 The beauty of no-code builders is that you can customize everything later, so don’t stress too much. Pick one and move forward.
Step 5: Customize Your Website
Now, let’s make the website truly yours. This is where the magic happens:
- Add your logo and brand colors. (Free tools like Canva can help you design one.)
- Change text and headings. Replace placeholder text with your own story.
- Upload images. Use high-quality photos of your work, business, or free stock images from Unsplash or Pexels.
- Adjust layout. Drag and drop sections where you want them.
Remember: simplicity wins. A clean, easy-to-navigate site keeps visitors engaged longer.
Step 6: Add Key Pages
At minimum, your website should have:
- Home Page – first impression, should clearly state who you are and what you offer.
- About Page – share your story and why people should trust you.
- Services / Products Page – detail what you are offering.
- Contact Page – include email, phone, or contact form so people can reach you.
- Blog (optional) – if you want to publish regular updates or insights.
📌 Think of these pages as the skeleton of your site. Later, you can add muscles (content) and skin (design).
Step 7: Make Your Website Mobile-Friendly
Most people will visit your site using their phones. If your website looks broken on mobile, you may lose visitors immediately.
Luckily, most no-code builders automatically adjust designs for mobile. Still, always preview your website on your phone before publishing.
Step 8: Connect Your Domain & Go Live
Once you’re happy with your site:
- Upgrade to a paid plan if you want a custom domain (instead of yourname.wixsite.com).
- Connect your domain through your website builder’s settings.
- Click Publish. Congratulations — you’re live on the internet! 🎉
Step 9: Basic SEO Setup
You don’t just want a website; you want people to find it. That’s where SEO (Search Engine Optimization) comes in. Basic steps include:
- Use your main keyword in titles and headings.
- Write clear descriptions for each page.
- Add alt text for images (descriptions for search engines and screen readers).
- Submit your site to Google Search Console (free tool from Google).
This ensures your website shows up when people search on Google.
Step 10: Keep Improving
Launching your website is the beginning, not the end. Treat it like a living project.
- Update content regularly.
- Share your website on social media.
- Add new features like a blog, shop, or booking system as you grow.
Your website should evolve with your goals.
Common Mistakes to Avoid
- Overloading with text. Visitors scan, they don’t read essays. Keep it short and clear.
- Too many colors or fonts. Stick to 2–3 max.
- Forgetting contact info. Make it easy for people to reach you.
- Ignoring speed. Large images slow websites. Compress them before uploading.
Conclusion
Building your first website without coding may sound intimidating, but as you’ve seen, it’s actually simple and exciting. You don’t need to be a computer genius. All you need is clarity of purpose, the right tools, and the willingness to take it step by step.
So, take a bold step today. Start with a free builder, play around, and you’ll be amazed at how quickly your ideas turn into a professional website.
👉 Question for you: What kind of website are you planning to build — a blog, a portfolio, or a business site? Drop your thoughts in the comments, let’s discuss and inspire each other.


Comments (0)
Leave a Comment
No comments yet. Be the first to comment!